Category Archives: tutorial

Made It By Monday: Striped Cork-boards

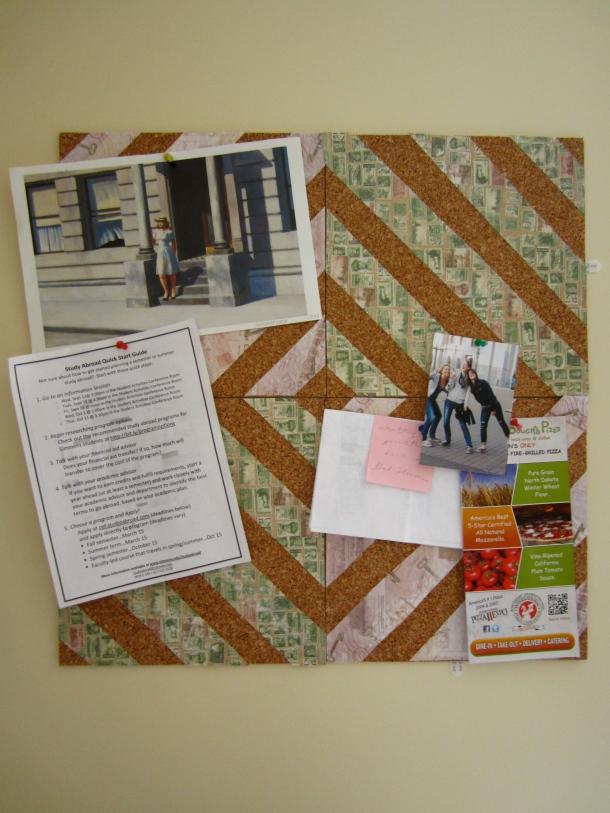
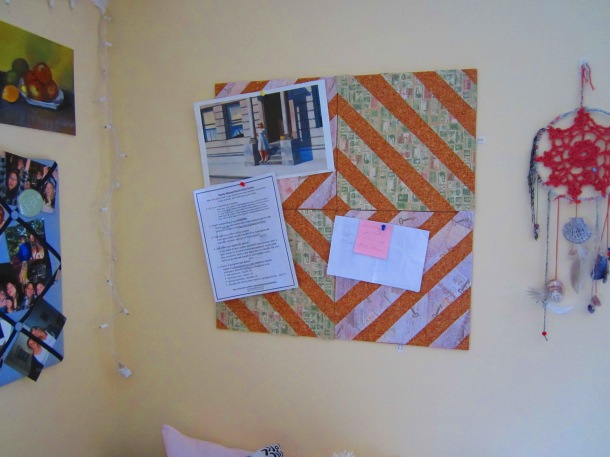
Since I’m back at school, the summer MIBM series is officially over 😦 But this plain-old-regular MIBM has a lot to offer too! The end of my freshman year, I was in Staples and saw those packs of 4 cork-board squares. I got them for like $5 or less, and I am now convinced that you should always go dorm-decorations-buying in June. I used them last year and succeeded in accidentally chipping paint off when I tried to take them down (as well as ripping off a corner of one of the boards). Make sure you don’t use the stickies they give you! Use something like Command poster strips.

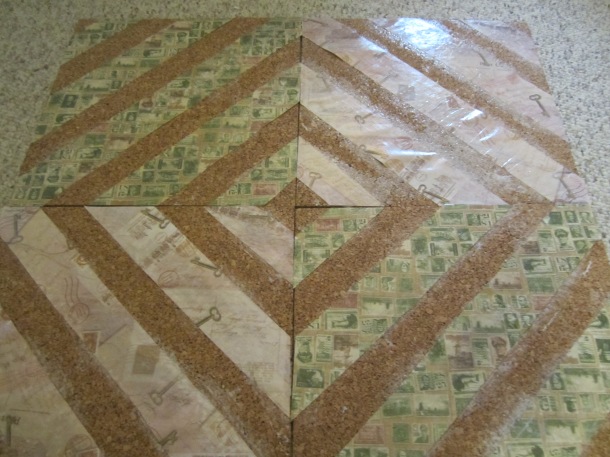
Before I came back to school this past week I decided to jazz them up a bit (and also cover the up chipped corner). I pinned this picture up on pinterest a while ago, and I decided to use it as a bit of inspiration.

Materials:
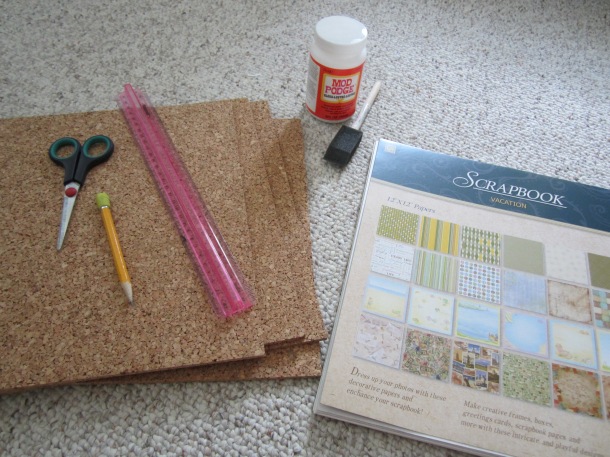
1. 4 cork-board squares
2. Scrapbook paper (I got a pack at Christmas Tree Shop for super cheap)
3. Modge Podge

Step 1: Measure your paper strips

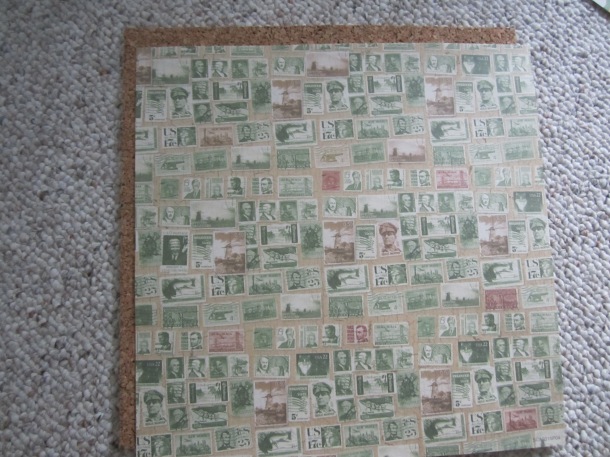
Average scrapbooking paper is about the size of the cork-boards, making it easy to cut. First, draw a line down the center of the paper going diagonally.

Next, measure 1 inch out on both sides and draw parallel lines. The strip is 2 inches wide.

Now move out 1.5 inches out from each line, draw another line. This will be the second strip. Make this strip 2 inches wide as well. Measure out 1.5 inches out again and draw a line on each side. This time, the strip is only going to be 1.5 inches wide.
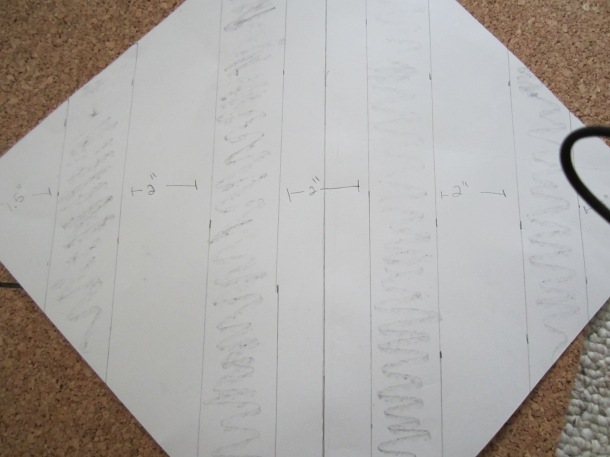

(Please excuse the camera strap).

|- 1.5″-| 1.5″ |- 2″-| 1.5″ |- 2″-| 1.5″ |- 2″-| 1.5″ |- 1.5″-|

Step 2: Cut

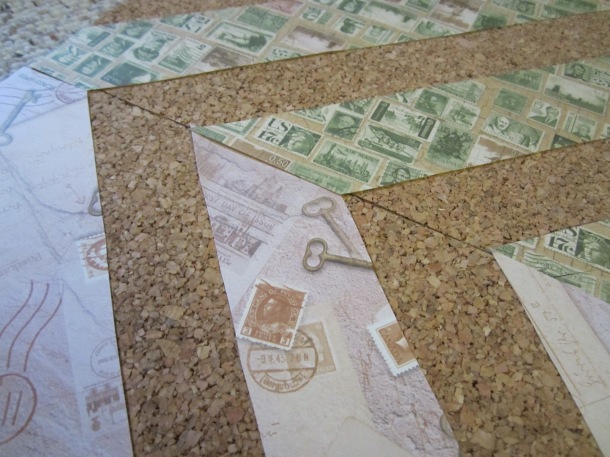
Lay four sheets of paper on top of each other and cut all paper strips at once.

Step 3: Position

Line up the paper strips on board and make sure they line up.

Step 4: Glue

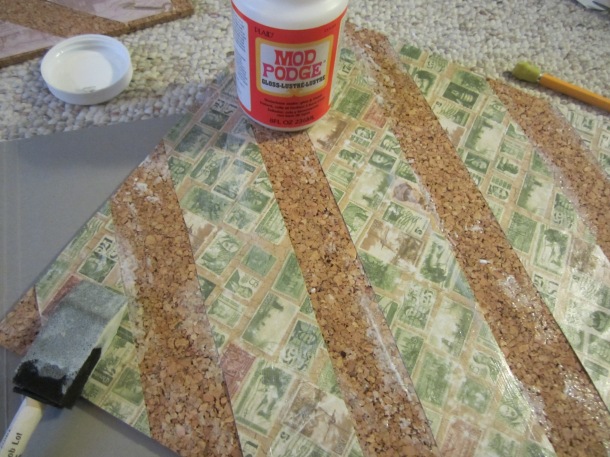
Using modge podge, put glue on bottom of each paper strip and then over the top of it once you lay it down.

Step 5: Let dry flat

The boards can curl when drying, so put something heavy on top of them.


Made It By Monday Summer Series: Freezer Paper Tshirts

Posted on

Summer is almost over and I can NOT believe it. The idea that a week and a half from now I’ll be sitting in a classroom thinking about all the work I have to do is not a good one. When I’m working all those hours in the summer sometimes I think ‘school is easier,’ but looking at it from this end of the summer I’m not so sure.

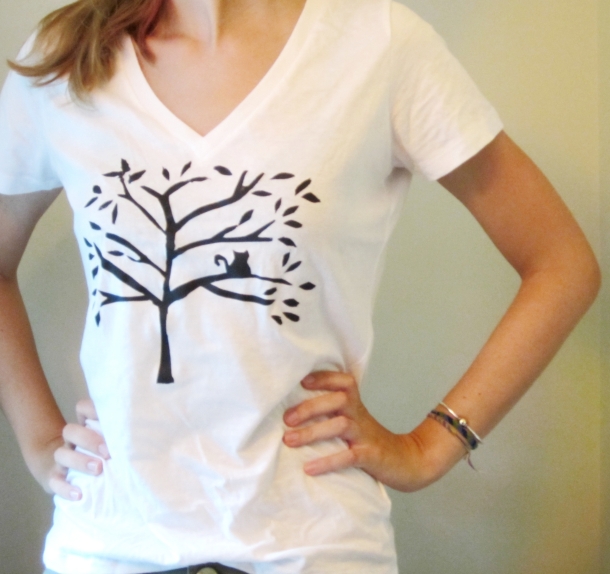
This tutorial is very easy and is a great way to add a personal touch to anything in your wardrobe. Plus it uses very few supplies.

WHAT YOU NEED:

1. Tshirt (any color and really any fabric will do, though I recommend  100% cotton or a cotton blend in a light color)

2. Freezer paper

3. Iron

4. Fabric paint

5. X-acto knife

6. Paintbrush

7. Piece of cardboard

8. Pencil

9. Computer paper

Step 1: Create your design

I drew mine with a sharpie, but you can also print out an image you like from the internet. Make sure to use something that is easy to cut out and doesn’t have too many thin lines.

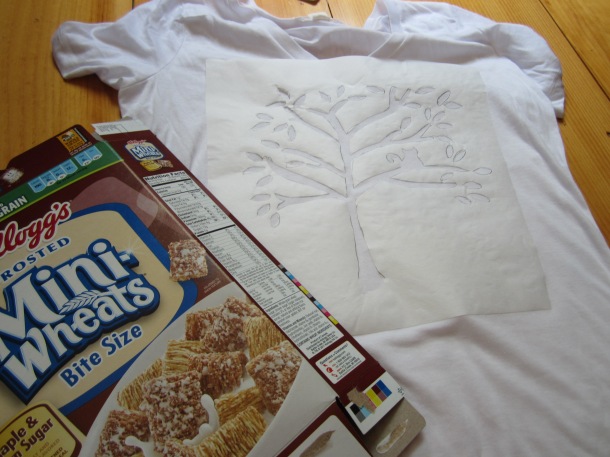
Step 2: Trace your design

Using a pencil, trace your design onto the freezer paper.

Step 3: Cut out your stencil

Using an X-acto knife, cut out the insides of your stencil.

Step 4: Iron the stencil to your shirt

Shiny-side down, iron the freezer paper to your shirt, making sure to center it.

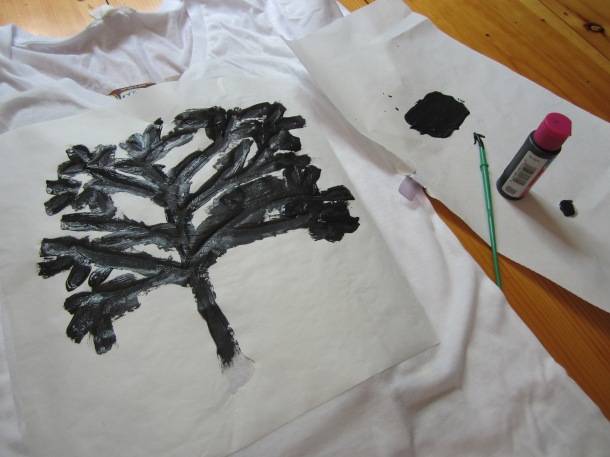
Step 5: Paint

I chose to just go with black paint, but different colors and an elaborate stencil could really bring this DIY to the next level. I just used an old paintbrush from a kid’s craft set.

Put a piece of cardboard (I used an old cereal box) between the two layers of fabric so it doesn’t bleed through. Be sure to evenly paint inside the stencil, and take your time.

Step 6: Let dry

The directions on my bottle of fabric paint said 4 hours, but it was blazing hot and super sunny the day I did this, and 1.5 hours was definitely enough time. Just wait for it to completely dry.

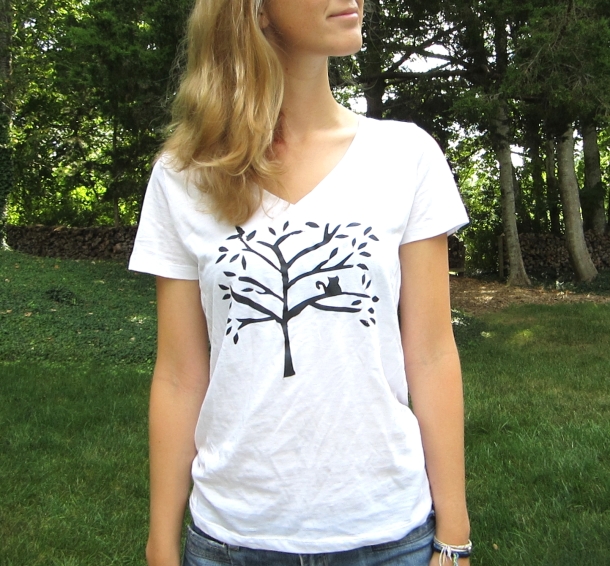
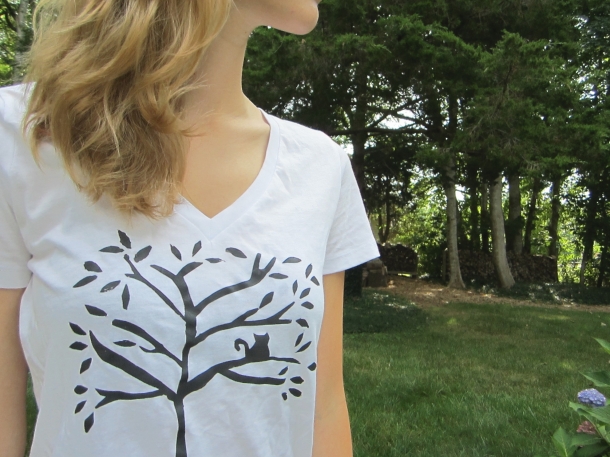
Step 7: Carefully peel off the freezer paper and wear!

This is a method that allows for a lot of variation and personalization. If you try this at home please post a picture!

Made It By Monday Summer Series: Sea Dreams Pt. 2

Posted on

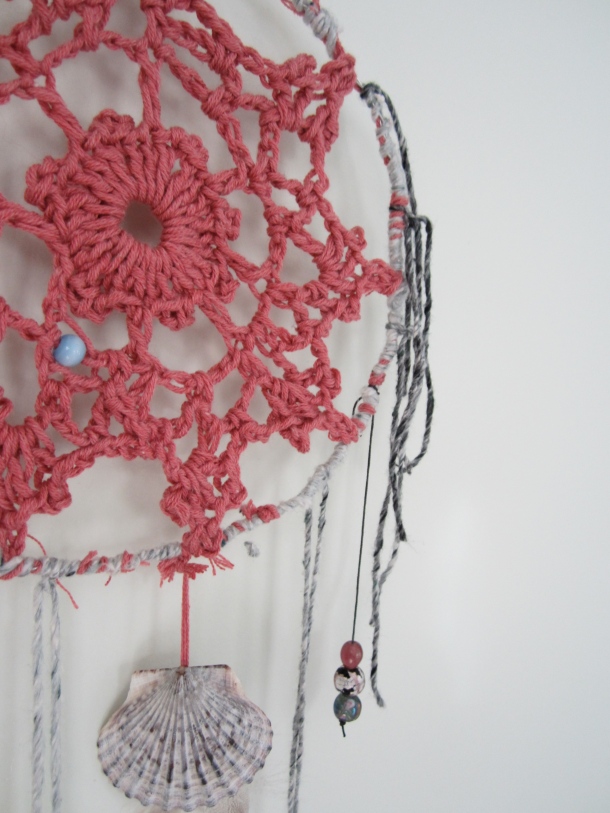
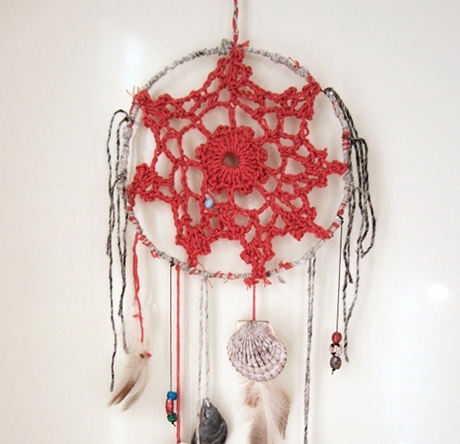
Following up on last week’s post, we’re going to finish up our dream catcher.


STEP 6: GRAB YOUR SUPPLIES

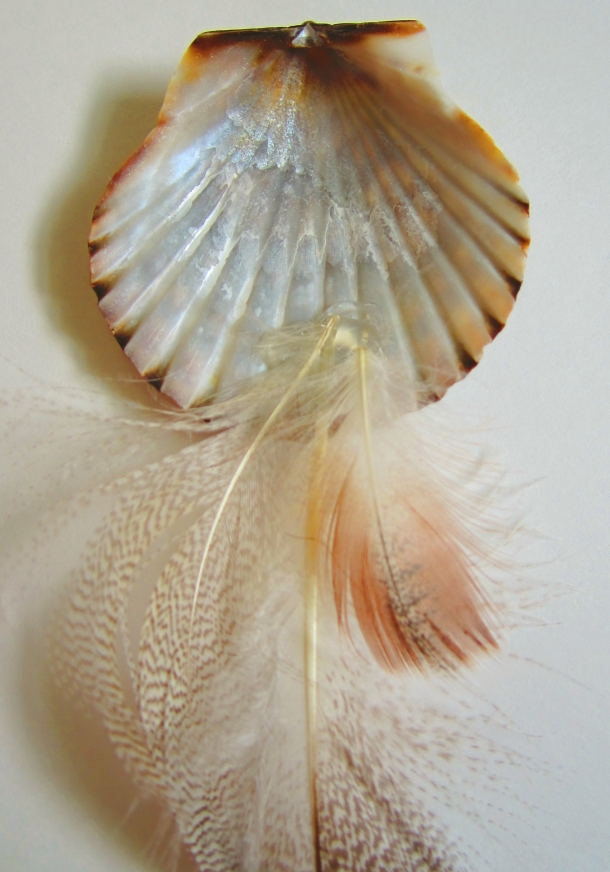
I used shells and beads


STEP 7: ATTACH TO DREAMCATCHER

I used hot glue to attach the feathers to the shells and then the yarn to the shells. I tied the end of the yarn to the bottom of my dream catcher.

Repeat this process for however much stuff you use.


With the beads I just tied a knot at the end of string and strung them on. In some cases I had beads on both ends of the string and them tied the middle over the loop.


STEP 8: ADD EMBELLISHMENTS

I took my extra yarn and tied it up along the loop on the sides.


STEP 9: HANG IT UP

Using the loop at the top you made and a nail or push pin, hang your dreamcatcher up for all to see!


Have any of you made your own? If so I’d love to see! Be sure to drop a link and comment below.

The Made it By Monday Summer Series: Zig-Zag Earrings

Posted on

Hey everyone! The camera thing has yet to be resolved as I have found myself totally overwhelmed by the amount of cameras out there, and I am lost and to which one is right for what I want to do. I’m definitely no photographer (pretty evident by some of the craft pictures I take), but I’m looking for a camera that gives sharp images, brings down the noise level, has a self timer, and shoots well in low light. If any of my readers out there have any suggestions I would love to hear them.

In the meantime, I got my act together enough this weekend (I have been working between 47-50hr weeks recently and it’s starting to affect my overall productivity) to put this MIBM together. I was planning on featuring this one later because I just did an earring one, but my current no-camera situation makes it hard to take pictures.

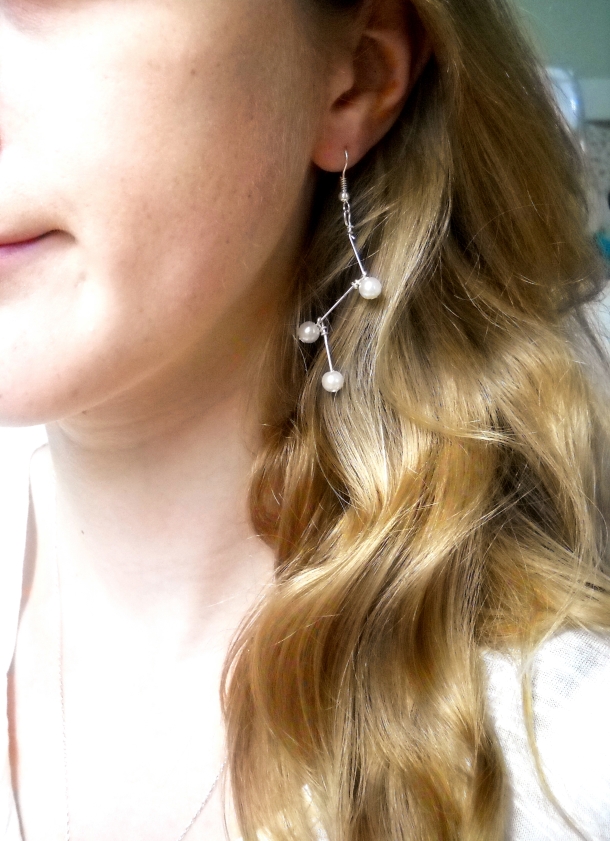
I made these earrings in less than an hour, and I always get compliments when I wear them out. Keri at Pink Lemonade put together this simple tutorial for cute earrings.

Tutorial Link: Earrings to Match the Ring
Total Time: 30 minutes
Supplies:
1. 6 Headpins
2. 2 Earring hooks
3. 6 beads of the same size

Here’s what I ended up with:

This tutorial was so easy and fast and had such a lovely result. I hope you all give it a try!

WIP Wednesday: The Beatnik Button Band Tutorial

Posted on

Hey everyone! I’ve finished my Beatnik!!! I modified it into a cardigan and I am so, so pleased with how it turned out. You’ll see the finished product Friday after I sew the buttons on, but for now I’d like to share with you an easy way to add a button band to your knitted cardigans.


*This to tutorial is for a picked-up button band, not one that is knit then sewn on*

1. Mark off every 1 or 2 inches on one half of the cardigan, ending midway around the back. I used paper clips that I bent open slightly, but I know there are plastic clips made especially for this.

2. Recheck your gauge. I was pretty much right on gauge for the Beatnik, and that meant about 5 stitches per inch. Using this number, I made sure I had five stitches picked up between each paper clip.

3. Remove the paper clips as you go.

4. Knit in rib or garter stitch for as wide as you want your button band to be.

5. To make button holes, bind of 2-4 stitches (depending on how big you want the buttons to be) for each button and continue in pattern.  YO that many stitches over each button hole on the way back.

Let me know if you have any questions, and I can’t wait to show you the finished product. Until then: here’s another preview:


Made It By Monday Summer Series: Button-Up Upcycle

Posted on

With all the warm weather recently, I’ve definitely been looking for some sleeveless tops to wear. When I got home from school this year, I cleaned out my closet and put a bunch of clothes in bags for goodwill or the trash. This past week 90 degrees + weather had me thinking of ways to use some of my old clothes.

This button up was a hand-me-down from my older sister when I was in middle school, and it is now too tight to be comfortable, especially in the sleeves. I’ve been admiring people’s sleeveless button ups and I thought this shirt would be perfect to make my own.

The sleeves were the tightest part on me, so I was glad to get rid of those!

Materials:

-thrifted or old button up

-coordinating thread

-sewing machine or sewing needle

-scissors

-iron

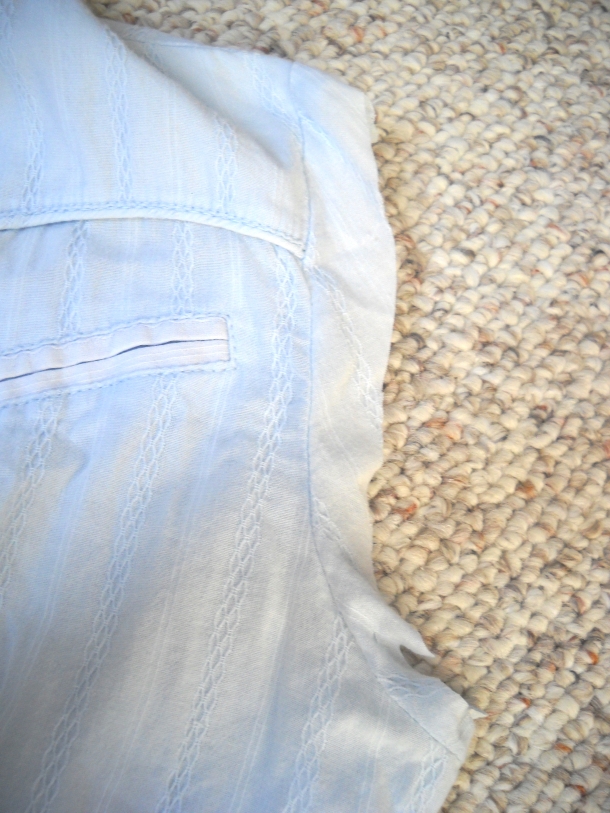
1. Cut off the sleeves. I left an inch or so from the seam, you can cut off the extra fabric later

2. Iron the the shirt, taking care to fold the cut sleeves back to the inside of the shirt along the sleeve seam. 

3. Use a sewing machine or hand sew edges of sleeves

4. Iron and cut off any extra fabric

5. Wear it! You’re done!

Tips:

– I usually wear mine unbuttoned because the shirt pulls a little on me, but if you have a well-fitting shirt this always looks cute buttoned with a pair of high-waisted shorts 🙂

Made It By Monday: Lace Earrings

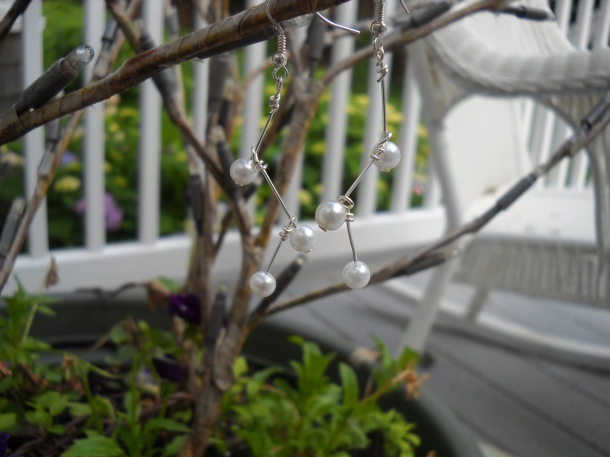
I’m finally back at school and so excited to be back in the city. Here’s a quick project I started just before I left and finally got back to a couple of days ago. These feminine lace earrings are a breeze to make!


Supplies:

1. Lace scraps (I used an old curtain)

2. Craft Spray. I used Krylon Matte Finish. There are many other types of spray out there that I think would work just as well.


3. Earring hooks (optional: jump rings, beads, etc.)

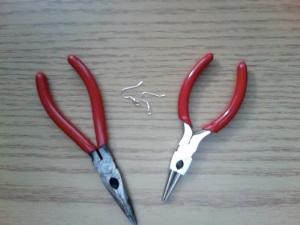
4. Pliers (round nose and flat nose)

Step 1: Choose your motif

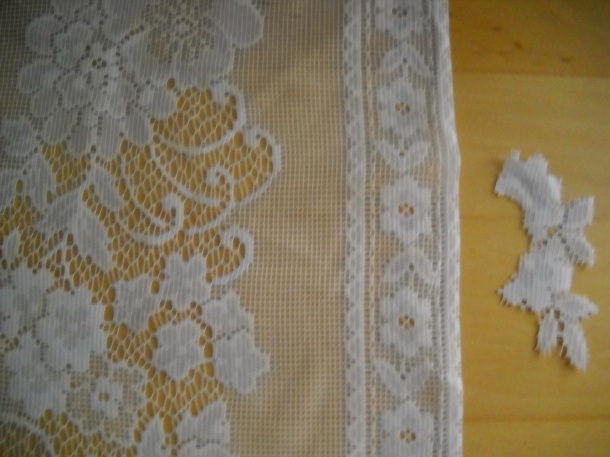
I dug up an old curtain and found the motif I liked best. I looked for two of the same as I wanted both my earrings to mirror eachother, but I think a mismatched pair would be cute too. 🙂

I recommend cutting the motifs out using sharp scissors or an exact-o knife to limit the frayed edges.

Step 2: Spray

Make sure you spray the Krylon in a well-ventilated area. Since it was a nice day I just brought them to cleared spot outside. I used toothpicks to keep my earrings from sticking to the paper towel once I sprayed as well as to keep them in place (the spray from the bottle as well as the wind tends to blow your project away).

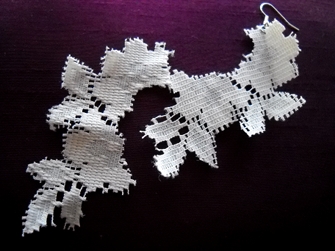
Make sure to flip your earrings over and spray the other side as well. The spray stiffens the earrings and makes them water-resistant. Let each coat completely dry before handling your earrings.

Step 3: Attach earring hooks.

I didn’t have any jump rings so I just opened the loop of the hook with pliers and used a hole already in the top of the lace earring. Jump rings might make the process a bit easier and add length.

Voila!


These were super easy to make and now I’m constantly on the lookout for lace scraps with interesting motifs. Don’t be afraid to add pearl beads or use larger motifs to make your own, unique pair!


Made It By Monday: Paper Beads

Posted on

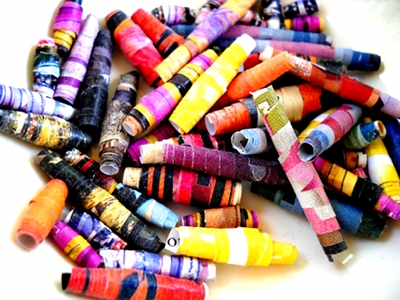
There are some crafts you can never be too old for. I hadn’t made paper beads since summmer camp days but I’ve stumbled upon so many tutorials and earrings and bracelets all about (and using) paper beads.

What you need:
1. Old magazines, scrapbook paper, origami paper, whatever!
2. Glue (Elmers liquid glue, glue stick – whatever works best for you)
3. Toothpicks, Size 1-3 knitting needle, chopsticks
4. A varnish (Such a krylon, polyurethane, modge podge)

I have yet to varnish mine. The varnish isn’t entirely necessary – it definitely makes the beads look more jewelry-esque but they also lose a bit of the “paper” look.

I made a bunch of these over the course of the last week. (Personally I think my form still needs a bit of work). To get you started, here are a couple of great tutorials for paper beads:

Madmim’s Paper Bead Tutorial
Yahoo Lifestyle Tutorial
Paper Bead Templates (7 different forms! Not just cylinders.)

And once you’ve made your beads, I highly suggest you check out this tutorial also by madmim for anthropologie-inspired earrings: Click here

Make these beautiful earrings from anthropologie.

It’s amazing what people have done! I often head on over to Etsy for even more inspiration.


Image Source

Have fun!

Made It By Monday… Cranberry-Dyed Shoes

Posted on

As summer winds down and the cool days of fall and winter approach, I’ve decided to share with you all tutorials from both me and the internet to try.

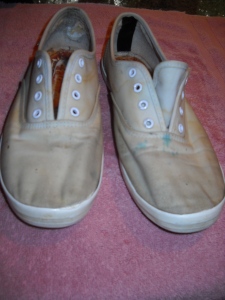
I love crafts and tutorials that revamp old items that I may already have. In this case, I had a pair of very, very worn, dirty and old white Keds sneakers that I was going to throw out. In a last chance effort, I decided to dye them.
I had recently been to the library and was looking through craft books and found one on natural dyes. One possibility was cranberries (or in my case, cranberry juice concentrate). I happened to be wearing my dirty, beat up shoes as I was reading and decided to give it a try.

I was largely inspired by this tutorial by sweet verbena for tea-stained shoes. Definitely go check her tutorial out.

Supplies:

1. White canvas shoes

2. frozen cranberry juice concentrate – however many cans it takes to fill up the pot that you are going to put your shoes in. (the frozen juice is not diluted like the stuff you find in the juice aisle).

3. 1 tablespoon vinegar (so the dye sets)

4. 1 pint of water for every can of cranberry juice.

I had also purchased new laces at Urban Outfitters to replace my old ones.

~~*~~

Step 1: Find your shoes.

These are my terribly old, gross shoes that used to be white. I believe Payless has white canvas shoes for $15.

(These are after I washed them, by the way. Notice the blue from a tye-dye incident and the back held together by electric tape. I have no idea why I’ve kept them this long).

Step 2: Ready your supplies.

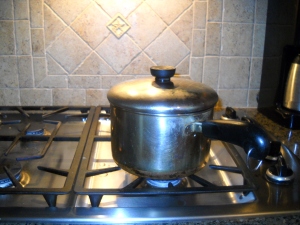
I took my frozen cranberry juice concentrate and emptied them into a pan on the stove. I set the stove to simmer so the juice would melt and added 1 pint of water per can. I also added a tablespoon of vinegar.

I would suggest buying more than two cans of the frozen juice. the resulting dye did not completely cover the shoes so I had to keep rotating them. A big pan and a lot of dye will allow for your shoes to be completely submerged.

(I’m not sure the pros/cons of red/white vinegar. Red probably would have worked well in this case considering the color dye I was using).

Step 3: Ready your shoes.

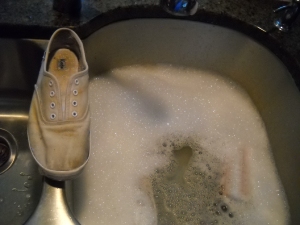
While your juice is melting, give your shoes a good scrub and remove the soles and laces. Often after being soaked the soles are easier to remove.

(And rinse your kitchen sink after)

Step 4: Stuff your shoes in the pot.

I don’t have a picture of my shoes crammed into my too-small pot, but the wear and tear they’ve experienced allowed them to be very flexible. I will say that the splotchy end appearance may be in part due to my constant rotating during the dying.

I left them on the stove for about half an hour.

Step 5: Remove and rinse.

Remove your shoes (carefully! They might be hot) and run them under the faucet until the water runs clear.

Step 6: Lay to dry.

Stick you shoes and the removed soles out in the sun or wherever to dry.

Step 7: Wear your cranberry-dyed shoes proud!