Attention Followers!

Hello any followers that still only follow me on wordpress.com! I just wanted to remind you that I have moved! wiseknits now resides on its own domain at wiseknits.com.

I’m still posting knitting projects, made it by monday tutorials, and free knitting patterns. Please head over to the new wiseknits and subscribe using the ‘subscribe’ button in the left hand column. I love to read your comments and connect back so please consider re-subscribing!

Thank you!

Made it By Monday: Paper Flowers

Hello everyone! As my previous post stated, wiseknits has moved to its own domain. I just posted a brand new MIBM so be sure to head over there and check it here!

Image

Big Changes

Hello everyone! Well after more than 6 hours, I have something very exciting to share with you. I’ve recently had a spike in traffic and comments, and I made the decision to take the next step with my blog. I have purchased my own little slice of webspace and can now be found at wiseknits.com

I now have the freedom to customize the layout, add new plug-ins, and whole other bunch of goodies I’m still trying to figure out. To my subscribers, please subscribe to my website via the ‘subscribe by email’ button at the bottom of the left sidebar under the tag cloud.

I was hesitant to do this because I know I will lose some readers in the transition. If you like my blog please, please follow me in this move. I really do appreciate every one of you, and just knowing that someone out there is reading what I have to say is awesome.

Starting next week, incoming links here will be automatically forwarded to my new website.

Thanks again to everyone that has supported me since I started, and I hope to see you over at wiseknits!


Jenny

WIP Wednesday: Laminaria Shawl, Infinity Scarf, Amiga

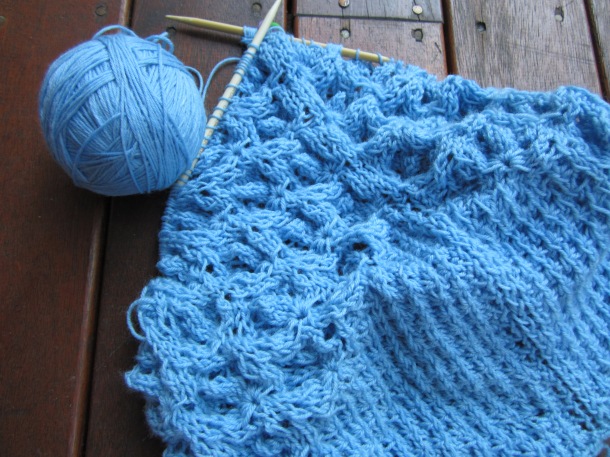
School is starting to get busy, but I have had a few moments to work on some of my knitting projects. The one taking precedence right now is the infinity scarf:

I making this as a present for my friend’s birthday which is this coming Monday. I’m using my Blues Infinity Scarf pattern in a different colorway I thought would suit her.

Next is my Laminaria Shawl. I’m having difficulty with this project. I think it has more to do with me not paying close enough attention and less to do with the pattern. I’ve had to fudge the numbers a bit on certain rows. I’m also attempting to do this with only one skein of Cascade Heritage Sock. Hopefully I won’t regret only buying one skein.

Lastly is my fingering-weight version of the Amiga sweater. I saw this modification of the pattern in a lace weight and I thought it would be a great way to use up some of my unmarked (I think) fingering weight yarn I was given.

It’s also great because it’s just straight stockinette, which is perfect for the subway/reading and knitting/tv knitting.

What are your current WIPs?

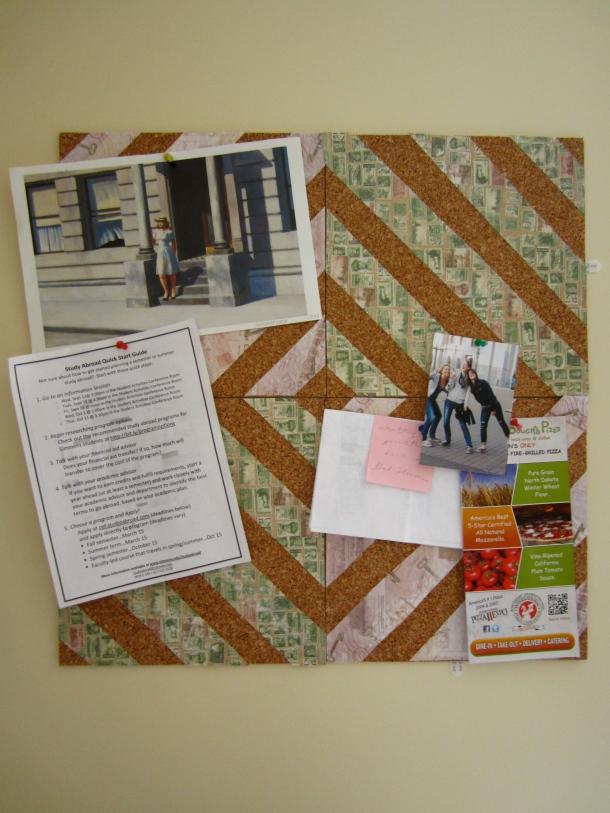
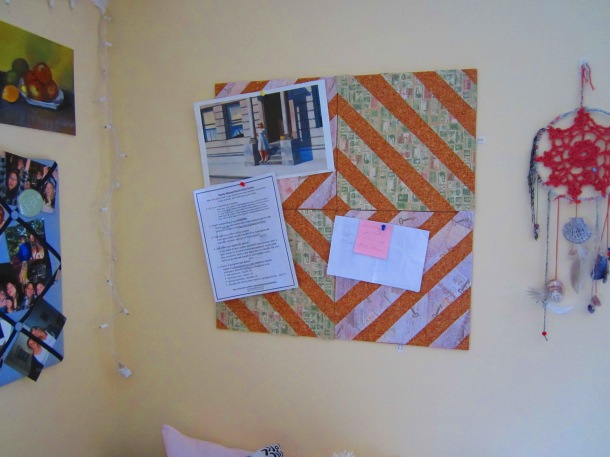
Made It By Monday: Striped Cork-boards

Since I’m back at school, the summer MIBM series is officially over 😦 But this plain-old-regular MIBM has a lot to offer too! The end of my freshman year, I was in Staples and saw those packs of 4 cork-board squares. I got them for like $5 or less, and I am now convinced that you should always go dorm-decorations-buying in June. I used them last year and succeeded in accidentally chipping paint off when I tried to take them down (as well as ripping off a corner of one of the boards). Make sure you don’t use the stickies they give you! Use something like Command poster strips.

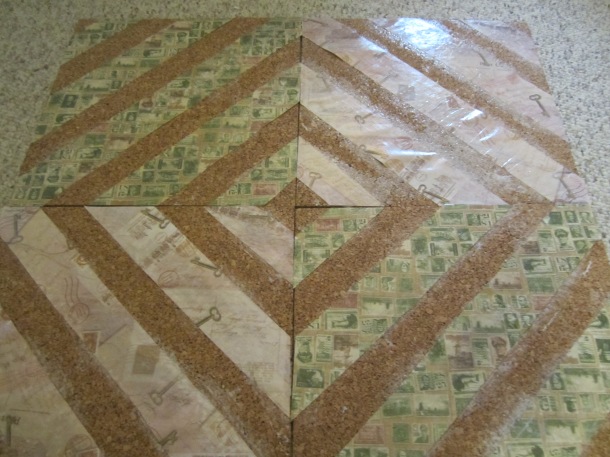
Before I came back to school this past week I decided to jazz them up a bit (and also cover the up chipped corner). I pinned this picture up on pinterest a while ago, and I decided to use it as a bit of inspiration.

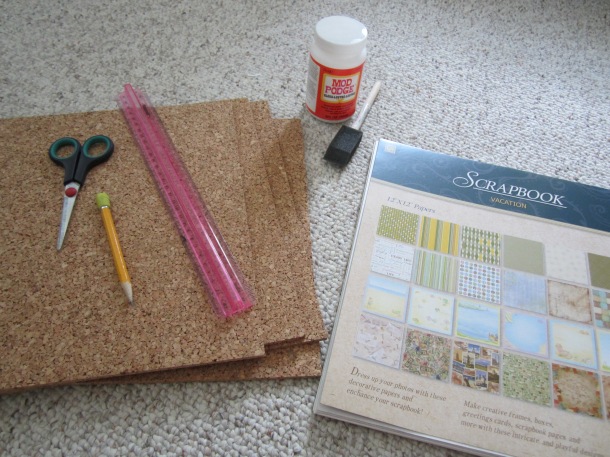
Materials:
1. 4 cork-board squares
2. Scrapbook paper (I got a pack at Christmas Tree Shop for super cheap)
3. Modge Podge

Step 1: Measure your paper strips

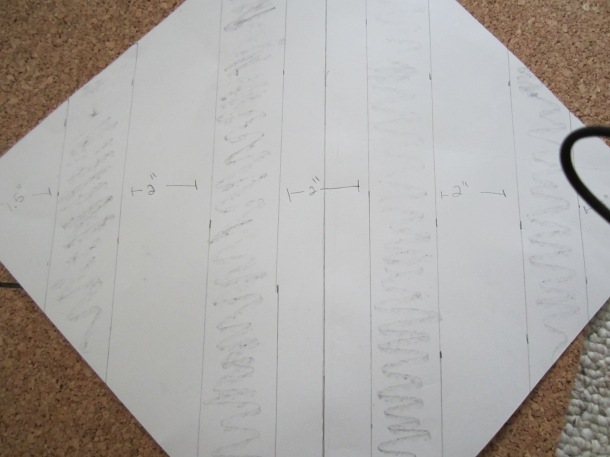
Average scrapbooking paper is about the size of the cork-boards, making it easy to cut. First, draw a line down the center of the paper going diagonally.

Next, measure 1 inch out on both sides and draw parallel lines. The strip is 2 inches wide.

Now move out 1.5 inches out from each line, draw another line. This will be the second strip. Make this strip 2 inches wide as well. Measure out 1.5 inches out again and draw a line on each side. This time, the strip is only going to be 1.5 inches wide.


(Please excuse the camera strap).

|- 1.5″-| 1.5″ |- 2″-| 1.5″ |- 2″-| 1.5″ |- 2″-| 1.5″ |- 1.5″-|

Step 2: Cut

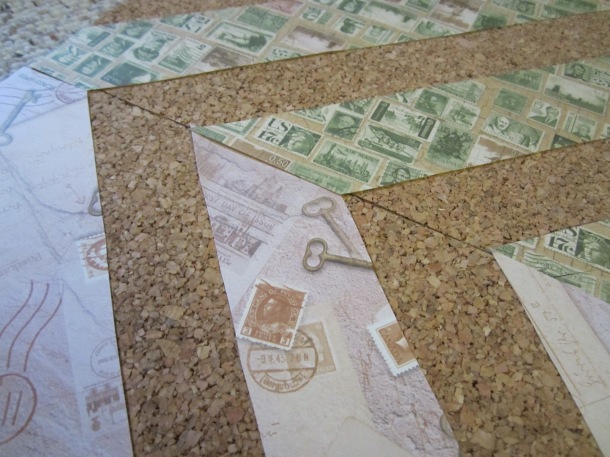
Lay four sheets of paper on top of each other and cut all paper strips at once.

Step 3: Position

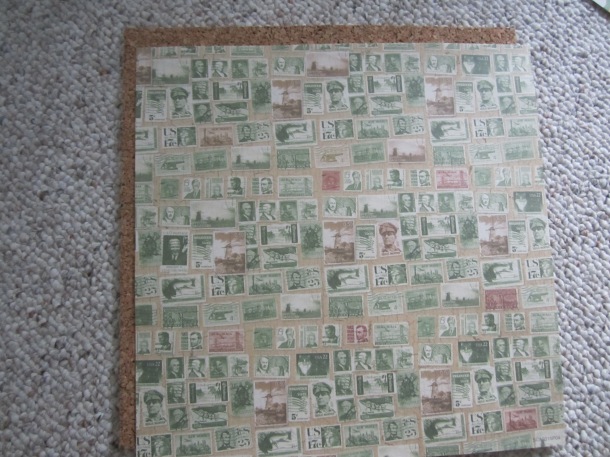
Line up the paper strips on board and make sure they line up.

Step 4: Glue

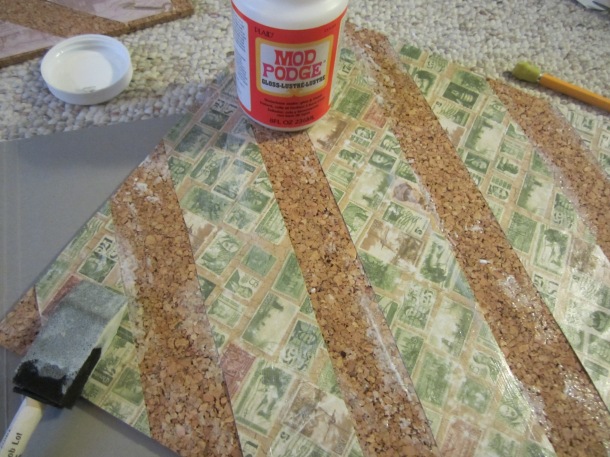
Using modge podge, put glue on bottom of each paper strip and then over the top of it once you lay it down.

Step 5: Let dry flat

The boards can curl when drying, so put something heavy on top of them.


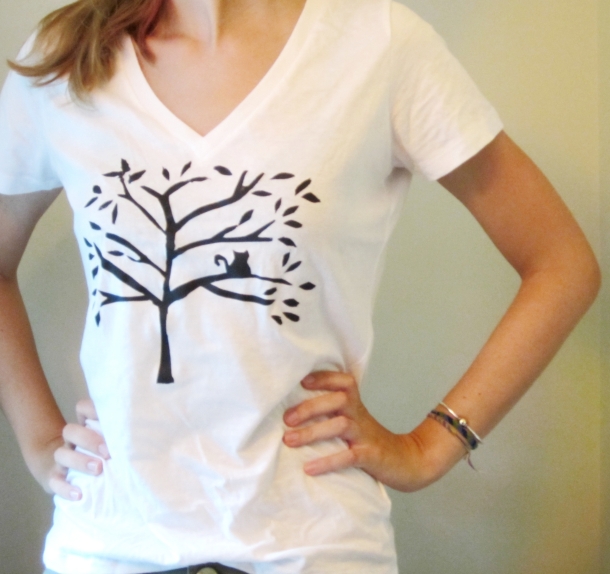
Made It By Monday Summer Series: Freezer Paper Tshirts

Posted on

Summer is almost over and I can NOT believe it. The idea that a week and a half from now I’ll be sitting in a classroom thinking about all the work I have to do is not a good one. When I’m working all those hours in the summer sometimes I think ‘school is easier,’ but looking at it from this end of the summer I’m not so sure.

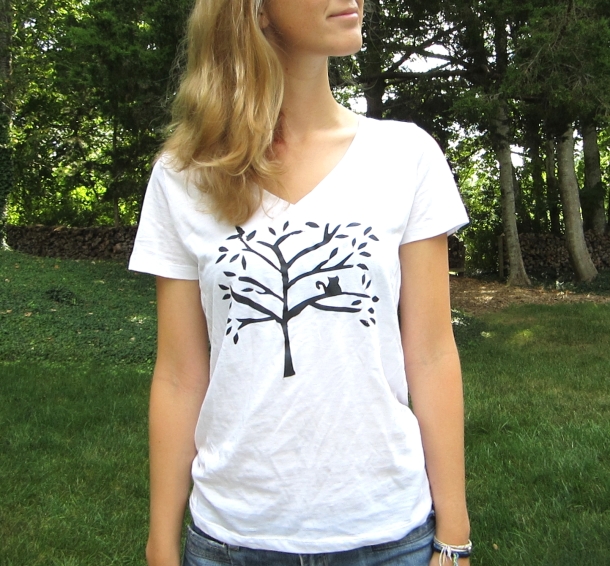
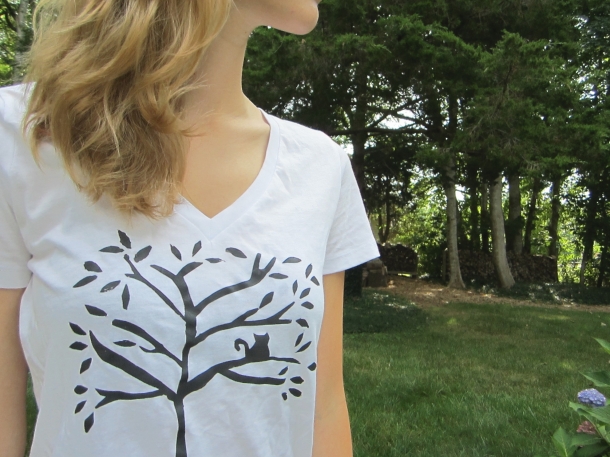
This tutorial is very easy and is a great way to add a personal touch to anything in your wardrobe. Plus it uses very few supplies.

WHAT YOU NEED:

1. Tshirt (any color and really any fabric will do, though I recommend  100% cotton or a cotton blend in a light color)

2. Freezer paper

3. Iron

4. Fabric paint

5. X-acto knife

6. Paintbrush

7. Piece of cardboard

8. Pencil

9. Computer paper

Step 1: Create your design

I drew mine with a sharpie, but you can also print out an image you like from the internet. Make sure to use something that is easy to cut out and doesn’t have too many thin lines.

Step 2: Trace your design

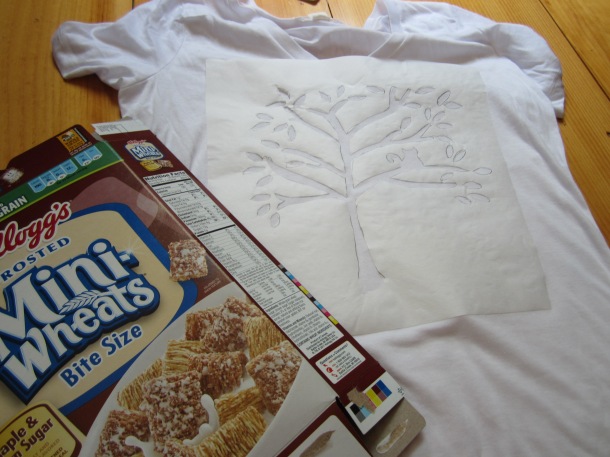
Using a pencil, trace your design onto the freezer paper.

Step 3: Cut out your stencil

Using an X-acto knife, cut out the insides of your stencil.

Step 4: Iron the stencil to your shirt

Shiny-side down, iron the freezer paper to your shirt, making sure to center it.

Step 5: Paint

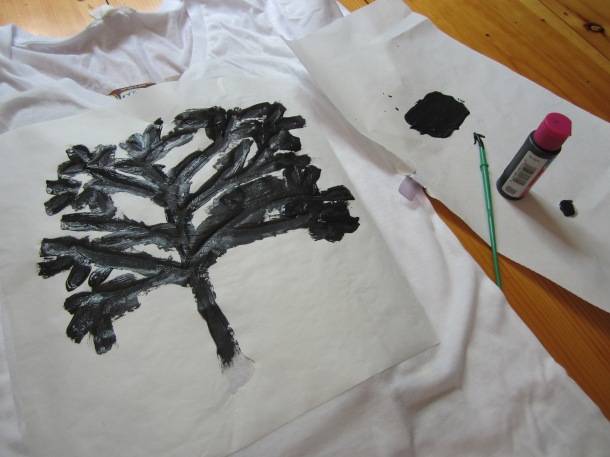
I chose to just go with black paint, but different colors and an elaborate stencil could really bring this DIY to the next level. I just used an old paintbrush from a kid’s craft set.

Put a piece of cardboard (I used an old cereal box) between the two layers of fabric so it doesn’t bleed through. Be sure to evenly paint inside the stencil, and take your time.

Step 6: Let dry

The directions on my bottle of fabric paint said 4 hours, but it was blazing hot and super sunny the day I did this, and 1.5 hours was definitely enough time. Just wait for it to completely dry.

Step 7: Carefully peel off the freezer paper and wear!

This is a method that allows for a lot of variation and personalization. If you try this at home please post a picture!

Angora Rabbits?

Posted on

I was able to see some of my family from Texas this weekend, and a cousin of mine reminded me that I still owe him an earflap hat (chullo). He had asked me before while he was living here in the Northeast, but he moved back to Texas recently… and I forgot. He’s a funny guy and insists that I make him an earflap hat with llamas walking across that are actually made of llama, a braid on each earflap, and a ‘snowball’ on top. (He also suggested I line it with baby seal fur…. joking of course)

I tried to convince him that llama can be scratchy, but he insists. I started searching online trying to find a good llama/something blend that wouldn’t smell bad in the rain and that is relatively soft. In the process I started googling what the difference between llama and alpaca was, and one thing led to another until I google image searched ‘angora rabbit.’

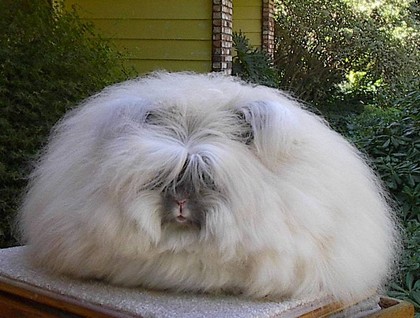
WHAT.

I had no idea these animals existed. I have heard of angora before, but I never bothered to figure out what it actually is.


I can’t decide if they’re cute or strange or both.

In any case, advice on a good llama hair blend or a chullo hat pattern would be much appreciated.

Made It By Monday Summer Series: Sea Dreams Pt. 2

Posted on

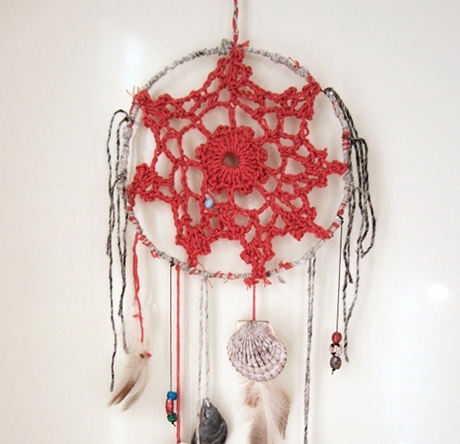
Following up on last week’s post, we’re going to finish up our dream catcher.


STEP 6: GRAB YOUR SUPPLIES

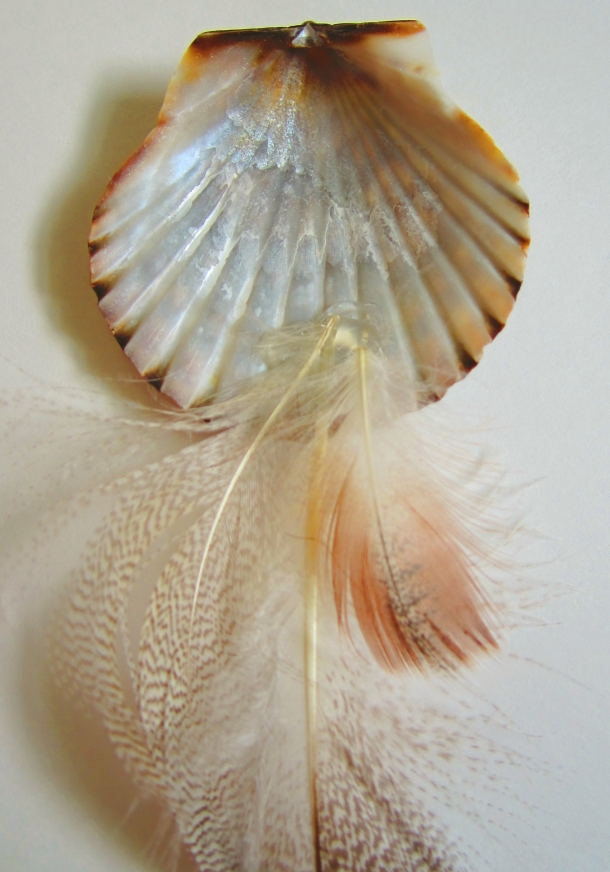
I used shells and beads


STEP 7: ATTACH TO DREAMCATCHER

I used hot glue to attach the feathers to the shells and then the yarn to the shells. I tied the end of the yarn to the bottom of my dream catcher.

Repeat this process for however much stuff you use.


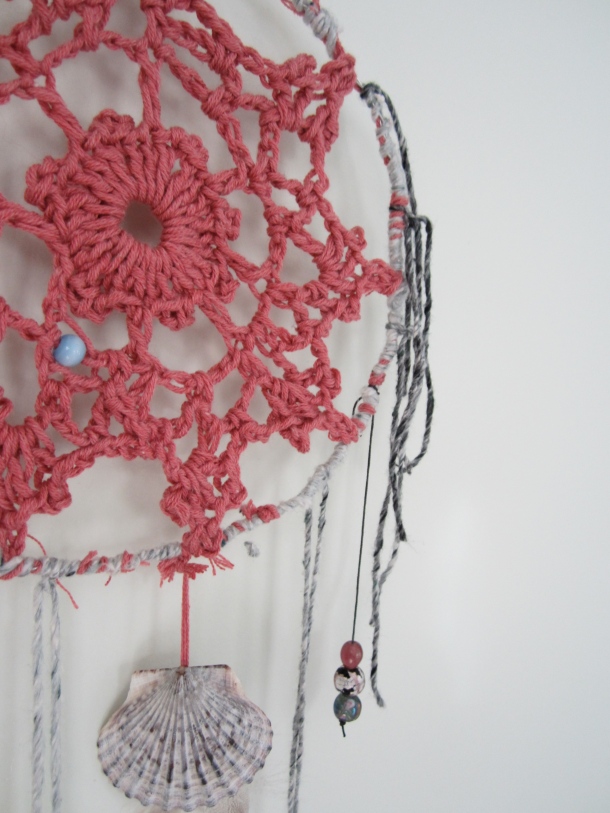
With the beads I just tied a knot at the end of string and strung them on. In some cases I had beads on both ends of the string and them tied the middle over the loop.


STEP 8: ADD EMBELLISHMENTS

I took my extra yarn and tied it up along the loop on the sides.


STEP 9: HANG IT UP

Using the loop at the top you made and a nail or push pin, hang your dreamcatcher up for all to see!


Have any of you made your own? If so I’d love to see! Be sure to drop a link and comment below.

Made It By Monday Summer Series: Sea Dreams Pt. 1

Posted on

This tutorial is largely inspired by Lauren’s handmade dreamcatcher at Calico Skies.
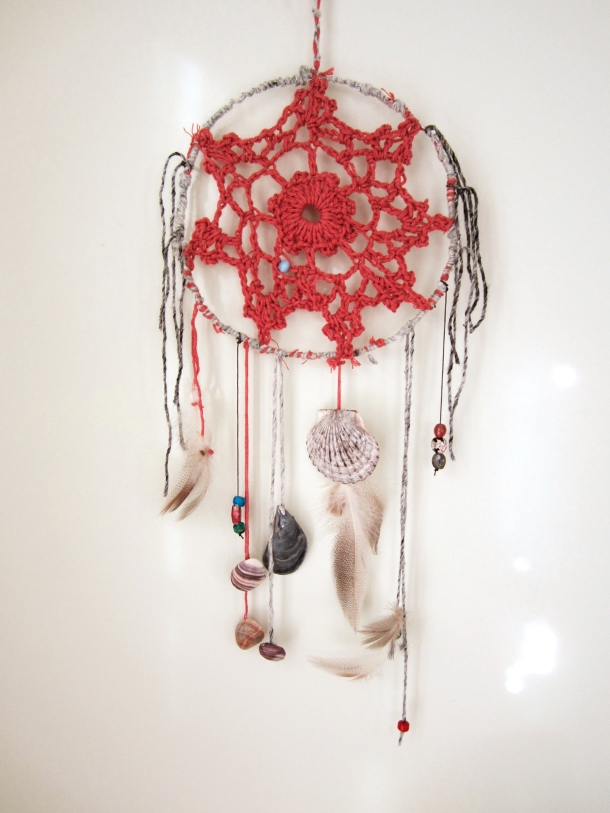
This project is inspired by the design of dreamcatchers, but this is not meant to be a replication of an authentic dreamcatcher. Dreamcatchers are an amazing part of Native American culture, and you can read more about their traditional use here. I also recommend this as something for personal use, not as something you should make a bunch of and sell.

Instead, this project is about creating something that connects you to your home or someplace you love. I grew up on Cape Cod and I always miss it when I’m away. I thought it would be nice to bring something from home back to school with me this fall. I’ve been working a lot lately and haven’t been taking the time to get outside and enjoy what home has to offer, so today I took a walk, took some pictures, and collected some things for my own inspired dreamcatcher.

Materials:
-Floral Stem Wire (found at Michael’s for about $2)
-Scrap yarn
-Glue gun
-Scissors

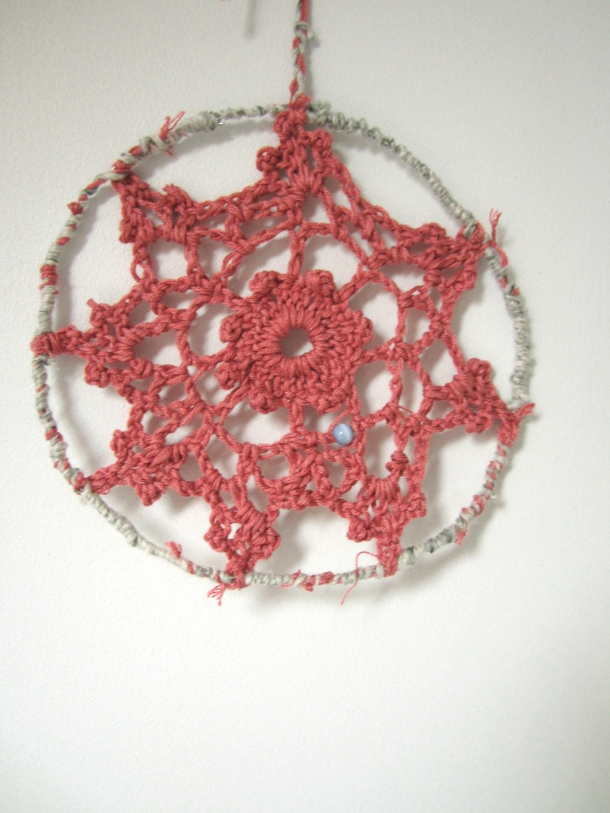
The rest is up to you. You can use a ready-made doily for the inside, you can crochet your own like I did, or you can thread to loop in the traditional dreamcatcher-fashion. A helpful link for how to do that can be found here

I dug out my old seashell collection, some beads from a bracelet a little girl at the day camp I work at made me, and went for a walk to see what else I could find.
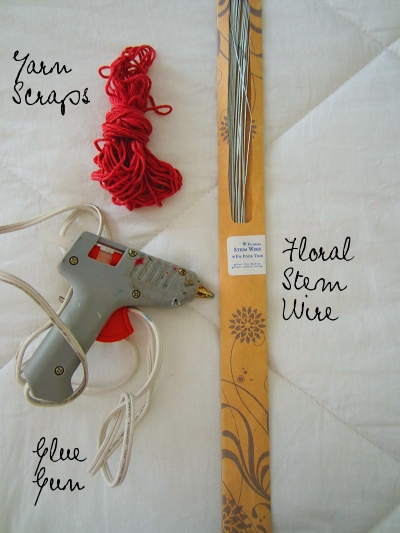
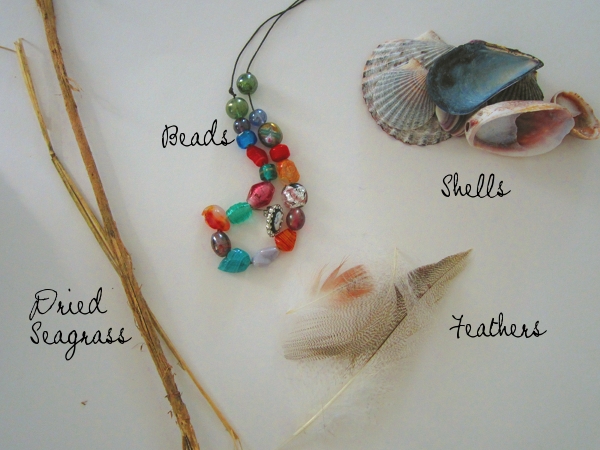
STEP 1: COLLECT YOUR SUPPLIES

I’ve been working a lot, so this project was a great motivator for taking some time out of my day to just go for a walk and appreciate the scenery and the place I live. I was also able to take some photos with my new camera and test out some of its features.

STEP 2: CREATE THE CENTER

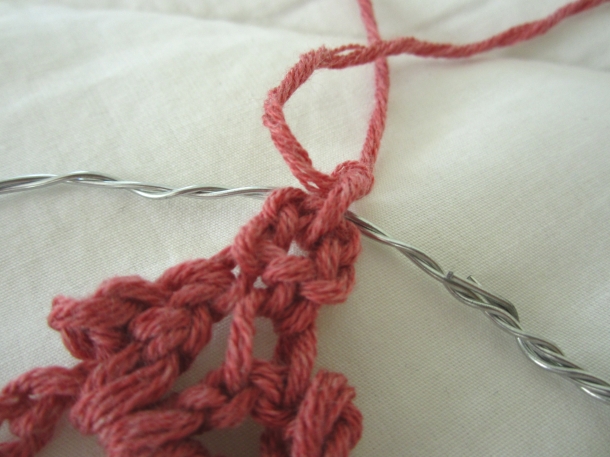
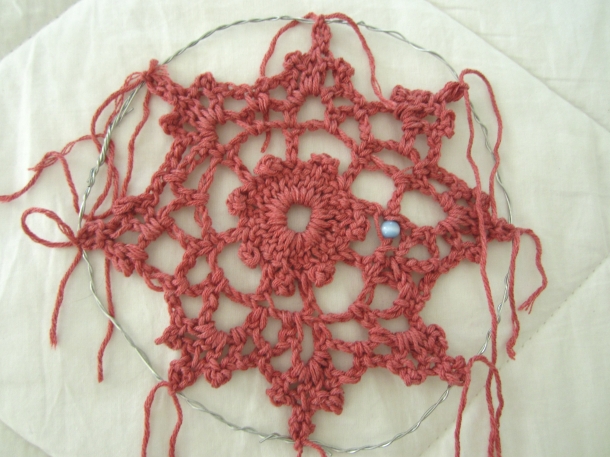
I used most of SmootFox’s doily pattern, which can be found on Ravelry for free here. You can use really anything you want for the inside. I chose to crochet my own because it represents my love for knitting and crocheting. I also used only yarn I bought from local yarn stores. The purpose, for me, is to evoke memories when I look at my dreamcatcher.
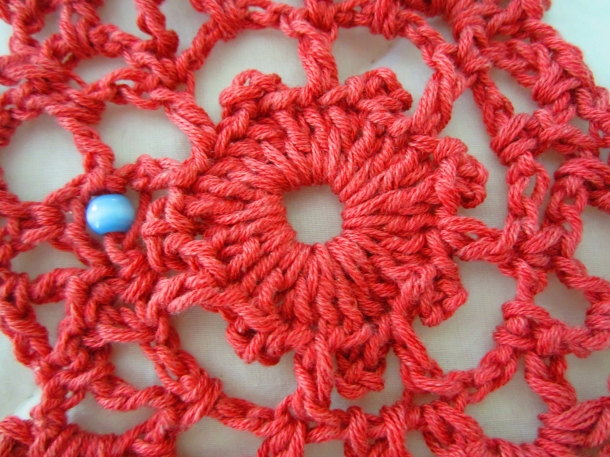
I also threaded a bead into my doily.

STEP 3: CREATE RING

Take 2 pieces of the wire and twist them together. I then took two more, shortened them a bit, twisted them, and attached the two halves of the circle together. If you make a smaller doily than I did, you may only have to use two rather than four.
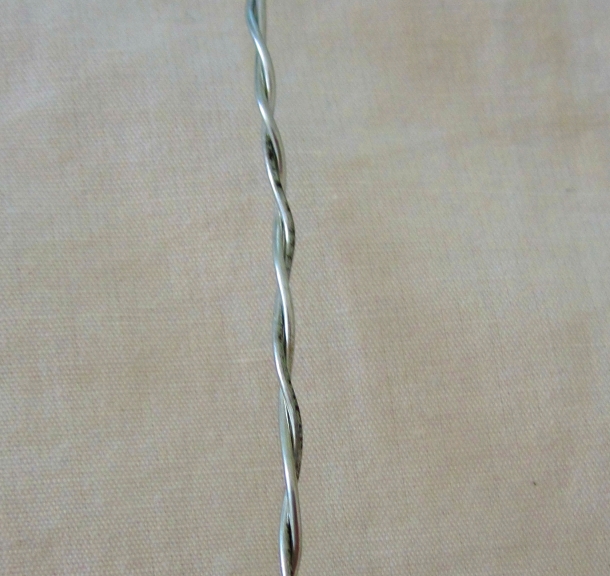
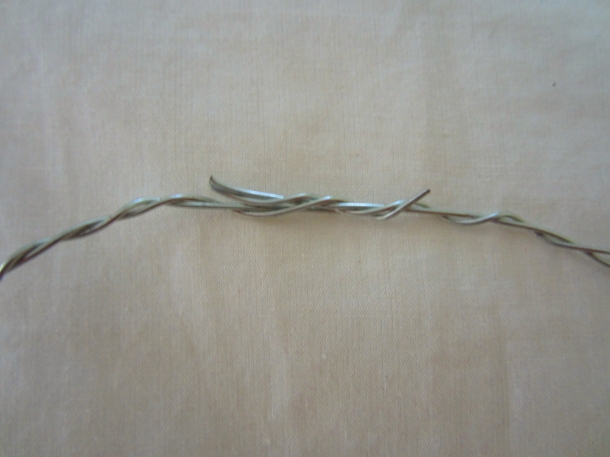
STEP 4: ATTACH INSERT TO RING

Thread needle with scrap yarn and tie each point of doily to the loop.
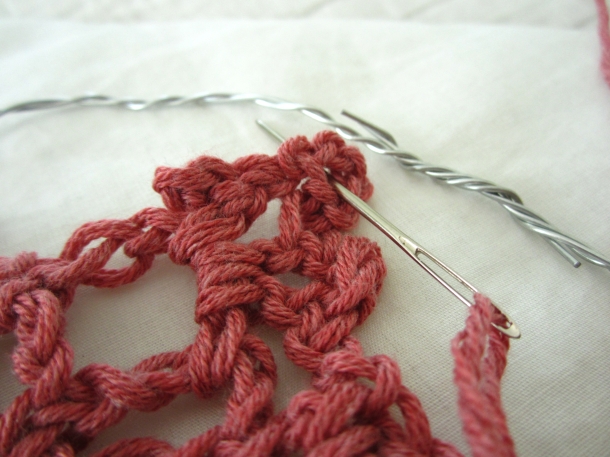
STEP 5: WRAP THE WIRE RING WITH YARN

Don’t worry about bumps and the ties from when you attached the doily, they  can be hidden under the wrap. I made a small bobbin of my yarn so I could fit it under the ring and back out. A full ball of yarn will be tough to fit through the spaces between the ring and the doily.

I chose Kudo because the gray variation looked a lot like birch bark.
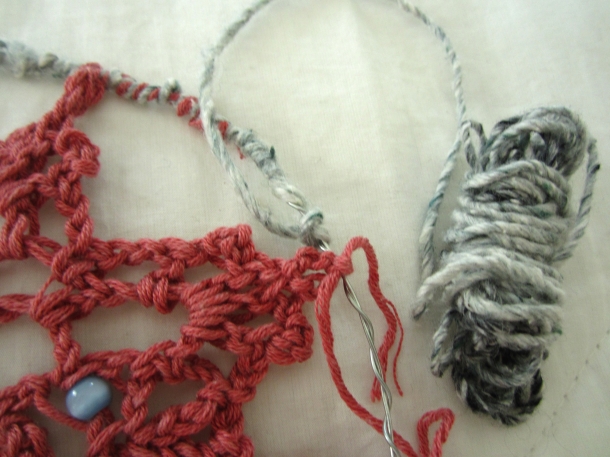
When you get to the top, tie off any remaining strings and make a loop. I chose to do a small braid before my loop.
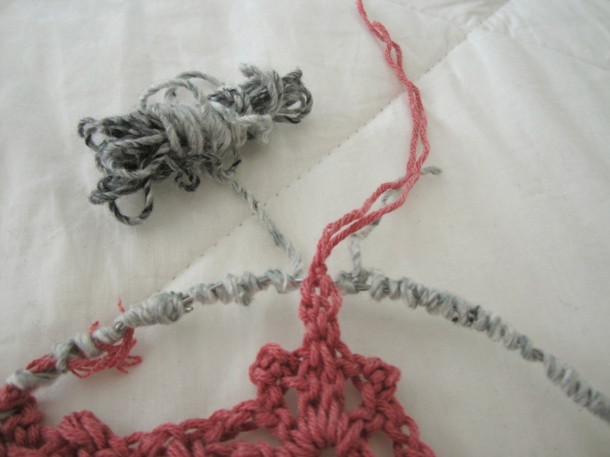
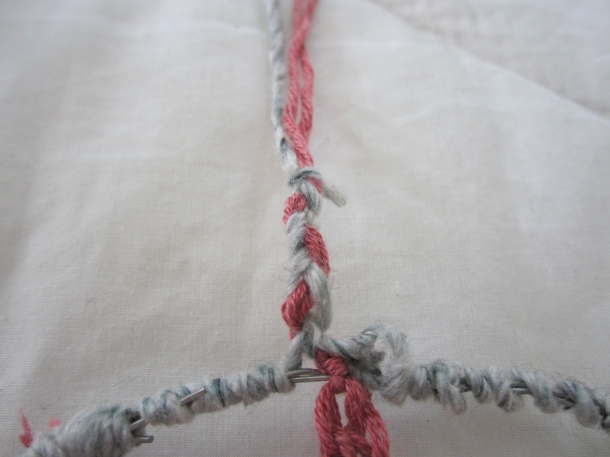
You should end up with the greater portion completed:
Next week we’ll finish it up!
FO Friday: Summer Flies

Posted on

I finally have my new camera and I am in love. I didn’t actually end up buying either of the two I featured in the last post. I came so close to purchasing the one without the touchscreen, then read that it doesn’t work on a Mac. That crisis averted, my friends from school came to visit and I had to chance to try out one of their cameras. I really liked the pictures it took and how easy it was to work with. I did some further investigating online and ended up with a Canon PowerShot ELPH100HS.

I spent almost $100 less than I would have and I still got a tabletop tripod, case, and memory card. I went for a walk to snap a few pictures and finally took pictures of my (not so) newly finished Summer Flies.

Pattern: Summer Flies
Ravelry Project Page

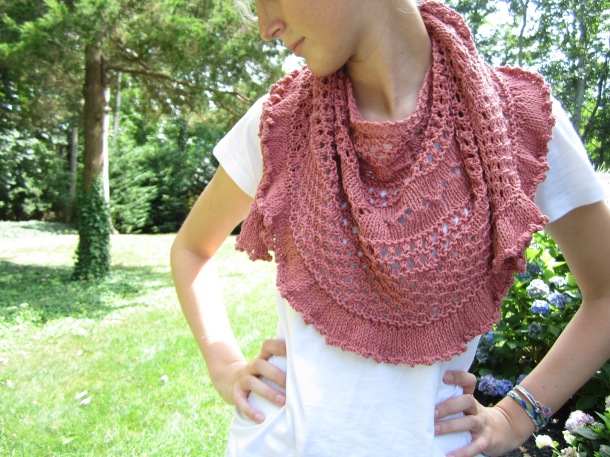
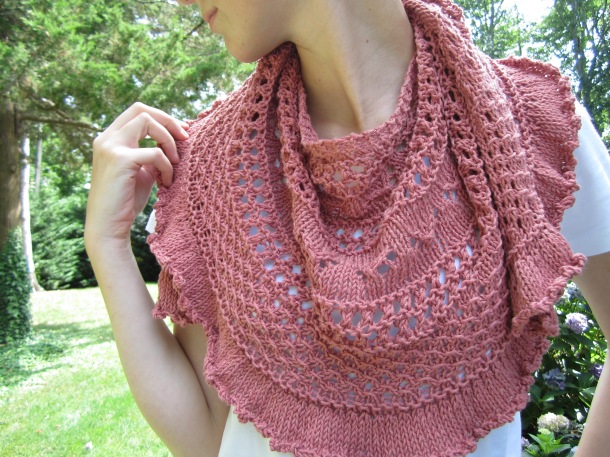
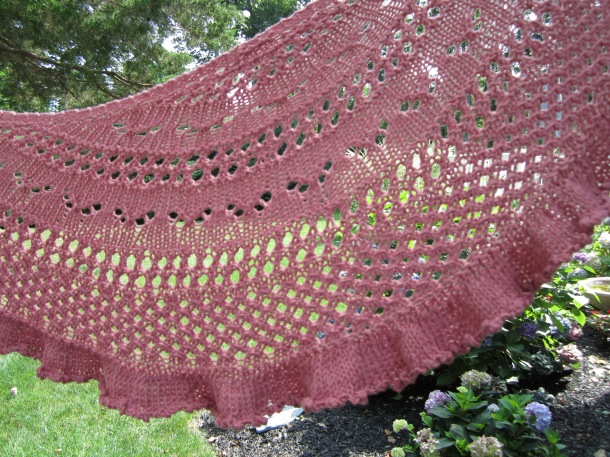
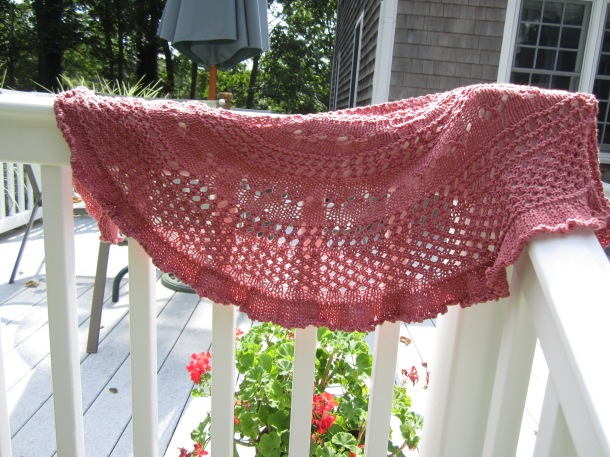
I really, really enjoyed this pattern. After all the work my Beatnik took, this was a relaxing knit. I also think I have found my go-to cotton blend yarn. Plymouth Yarn’s Jeannee DK is 51% cotton and 49% acrylic. It is incredibly affordable and the drape and feel is fabulous. Perfect for summer/early fall knitting.

I’ve been searching for a brown leather jacket for next year, and I think this would go perfectly.

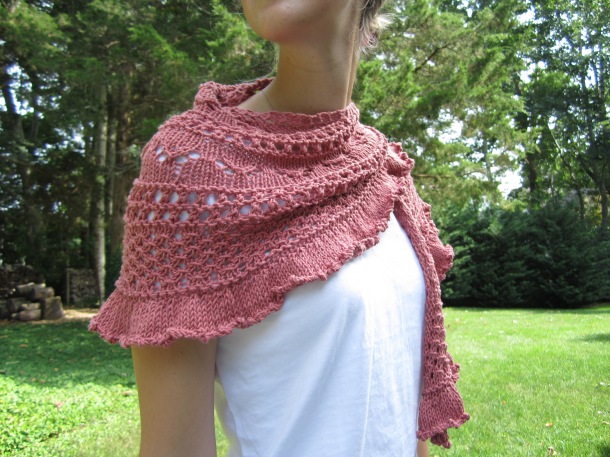
I would definitely wear this as a scarf instead of as a shawl, but as a shawl it’s easier to show off the great design that Donna Griffin created.

The tutorial for the picot bind-off the pattern linked to has disappeared, so I used Knitty’s picot bind of tutorial instead, maintaining the stitch counts of the pattern.

I always enjoy knitting shawls, but I never feel like I can wear them. This pattern was perfect because it works really well as a scarf but has the elements that make a shawl beautiful.